Dragon Quest III Remake: Traverse Baramos's Abode
Author: Mia
Feb 08,2025

Conquering Baramos's Lair in Dragon Quest 3 Remake: A Comprehensive Guide
After securing the Six Orbs and hatching Ramia the Everbird, you're ready to confront Baramos in his lair. This challenging dungeon serves as the ultimate test before venturing into the underworld. This guide details navigating and conquering Baramos's Lair in Dragon Quest III HD-2D Remake.
Baramos, the primary antagonist of the game's first half, resides within this formidable dungeon, inaccessible until Ramia's acquisition. Aim for a party level of at least 20 before attempting this challenge. The lair holds several valuable items, detailed in subsequent sections.
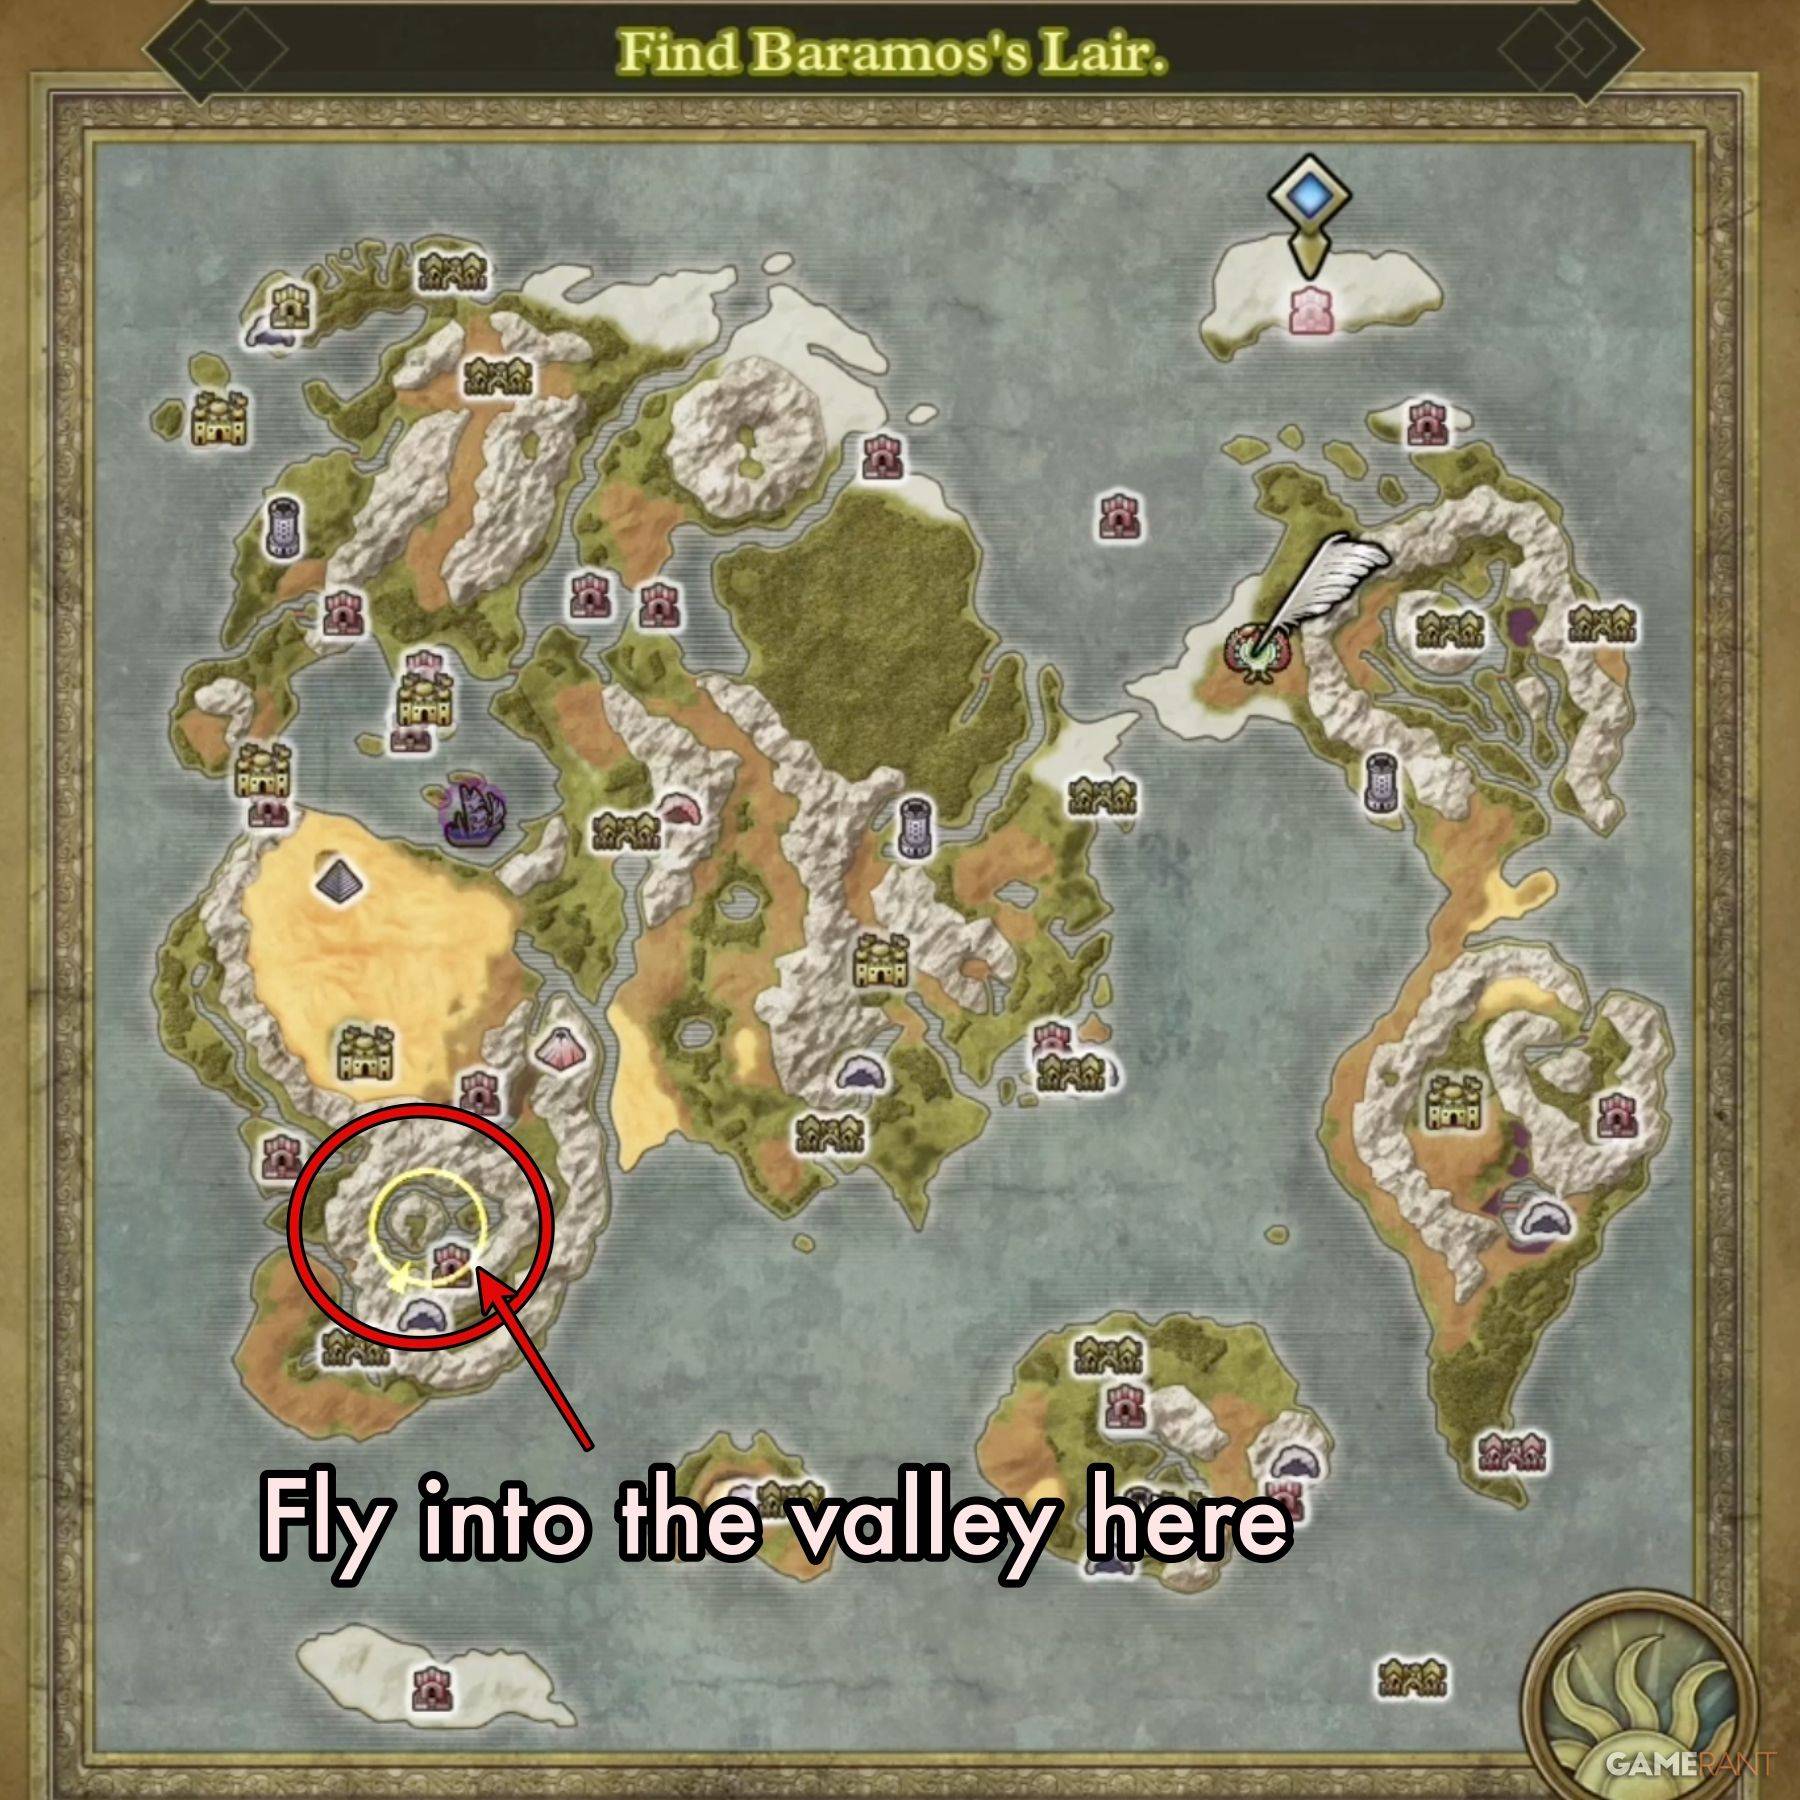
Following the Maw of the Necrogond and obtaining the Silver Orb, Ramia becomes available. Access Baramos's Lair by flying from either the Shrine of the Everbird or the Necrogond Shrine.
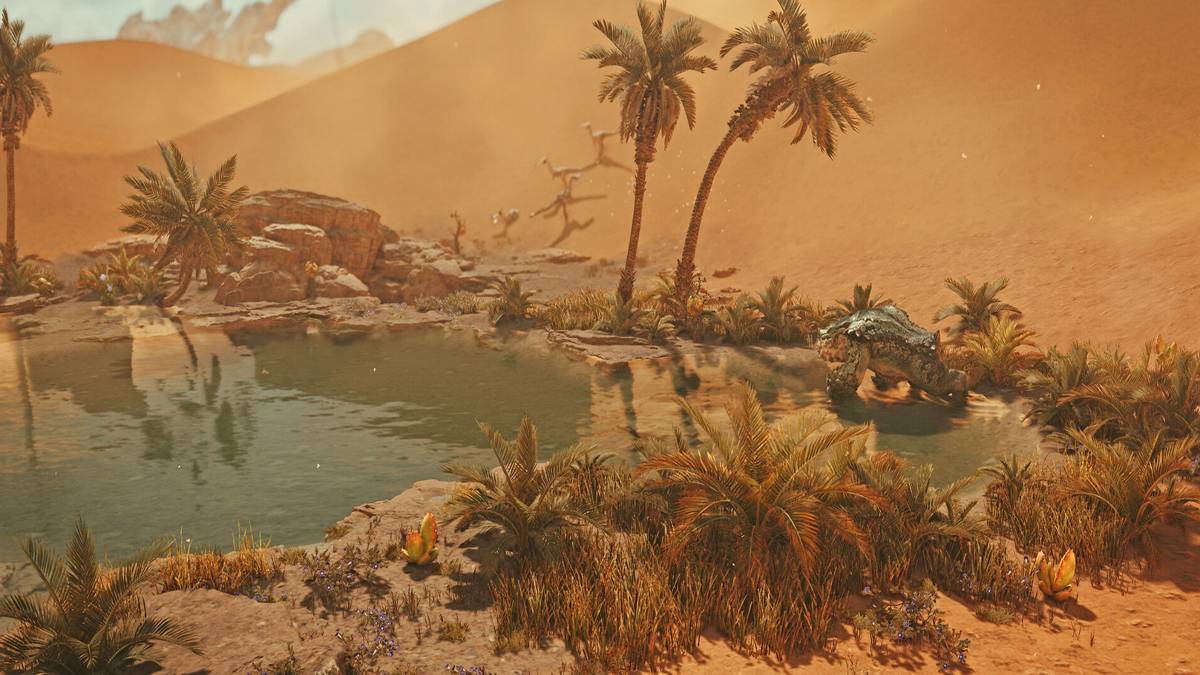
North of the Necrogond Shrine lies a mountainous island—Baramos's Lair. Ramia will transport you directly to the dungeon entrance. Proceed north and enter.
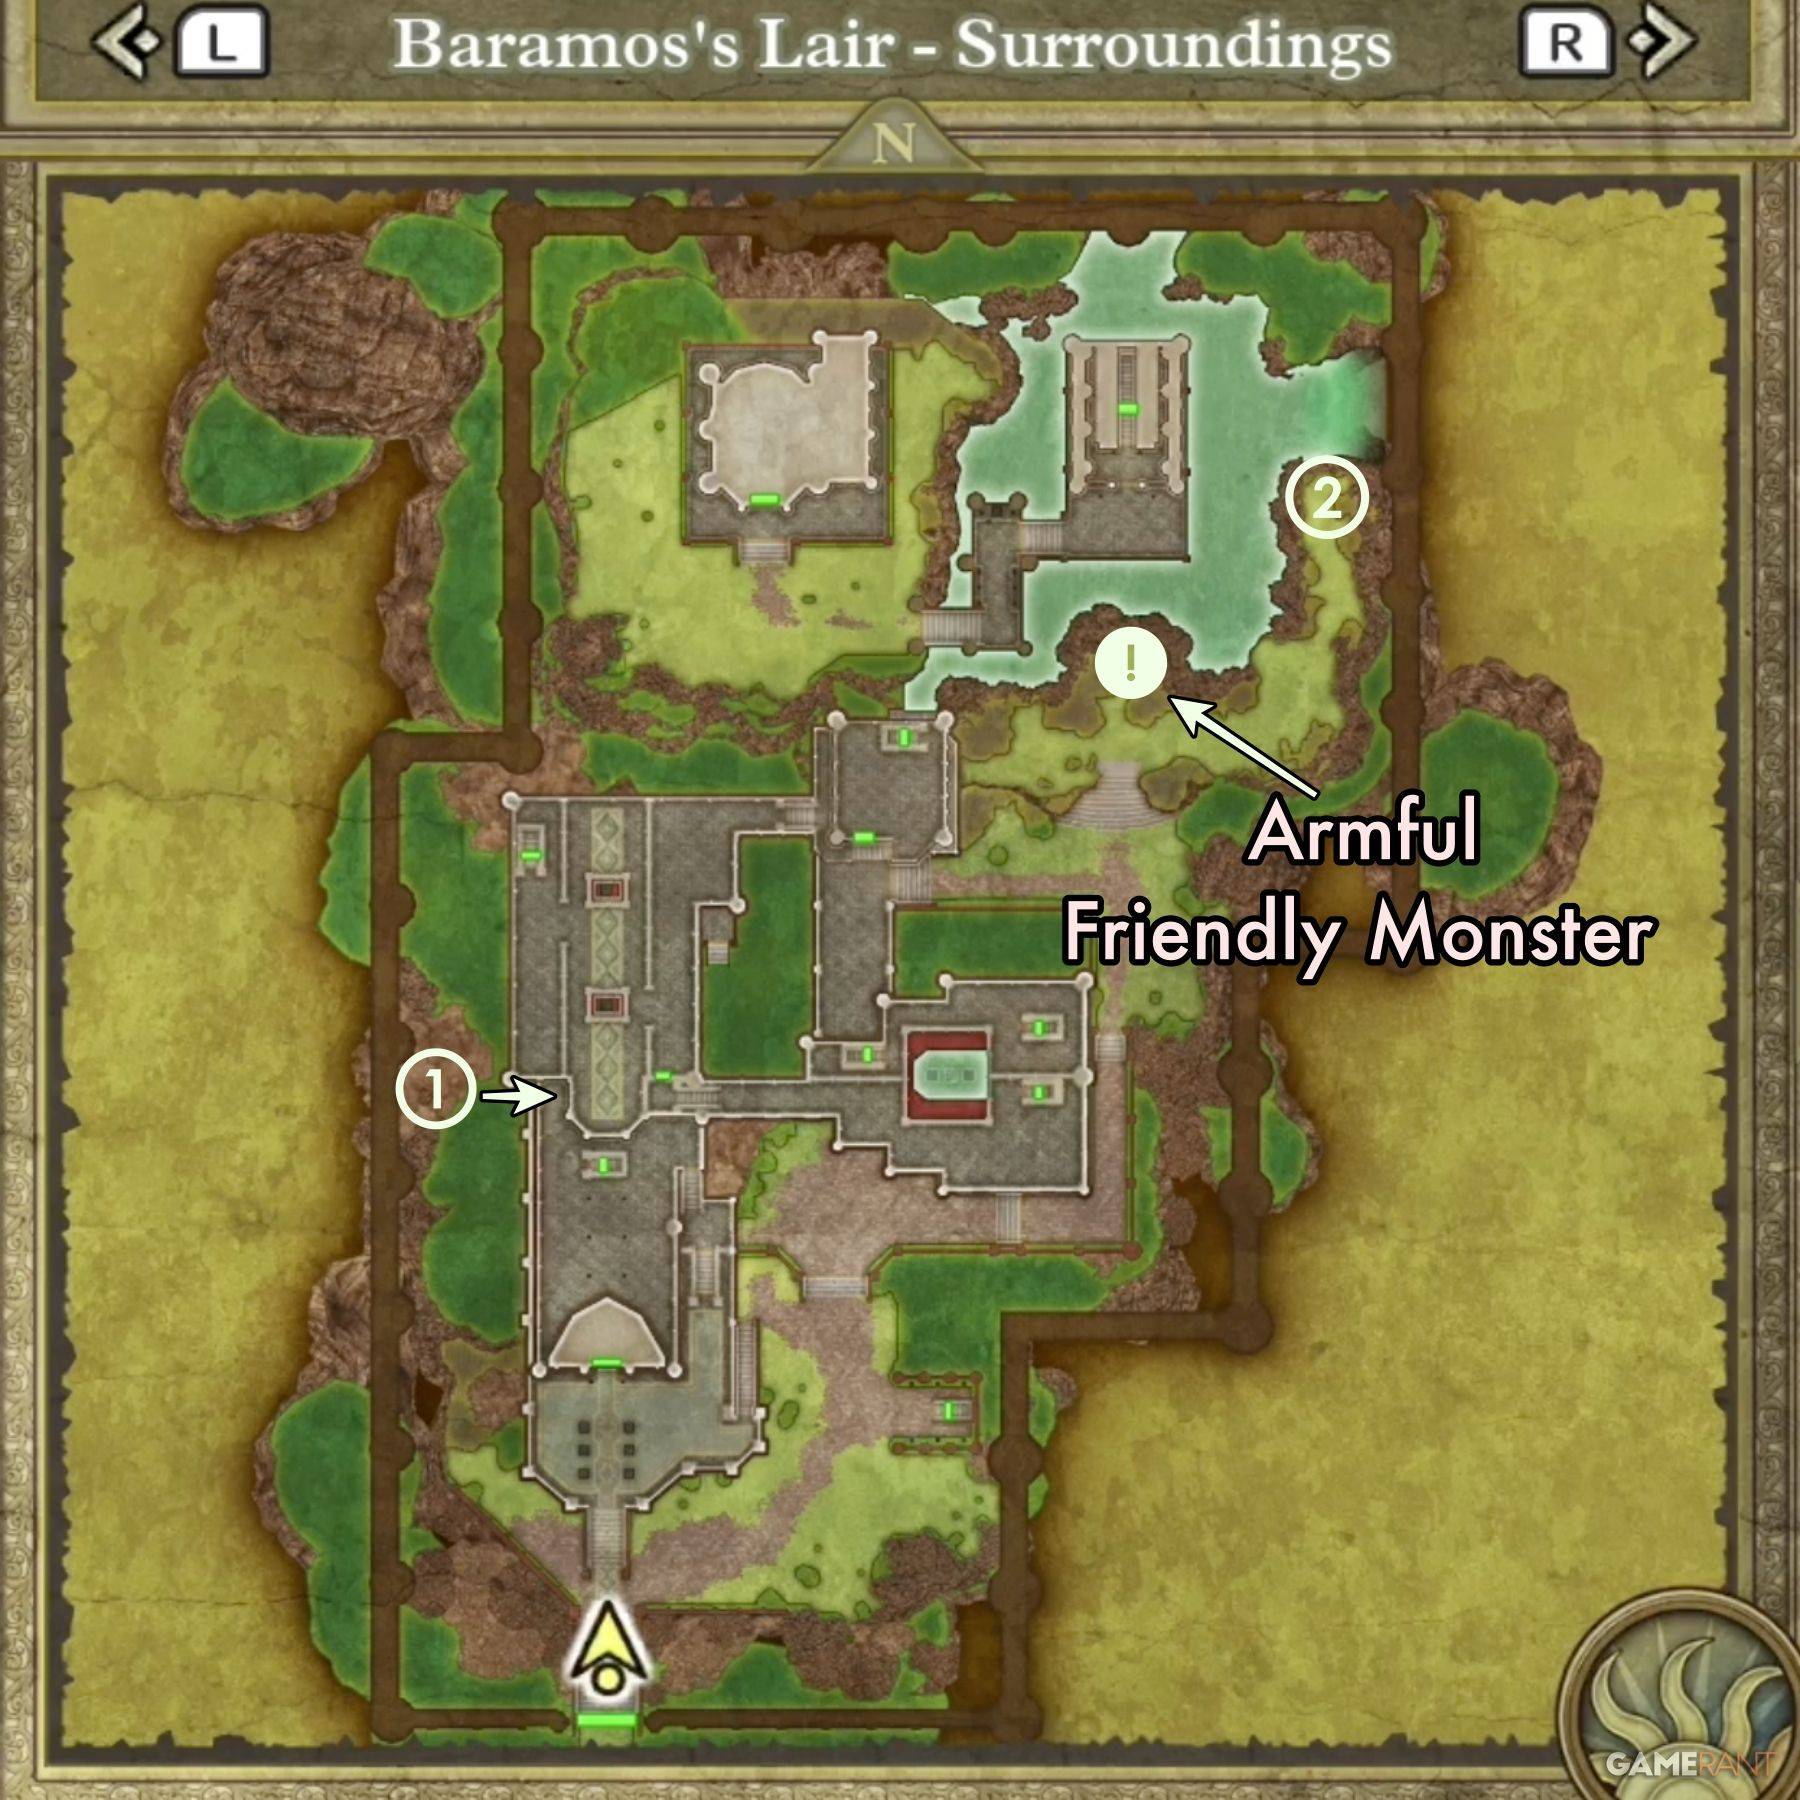
Unlike typical dungeons, Baramos's Lair involves traversing both indoor and outdoor areas. The objective: reach Baramos.
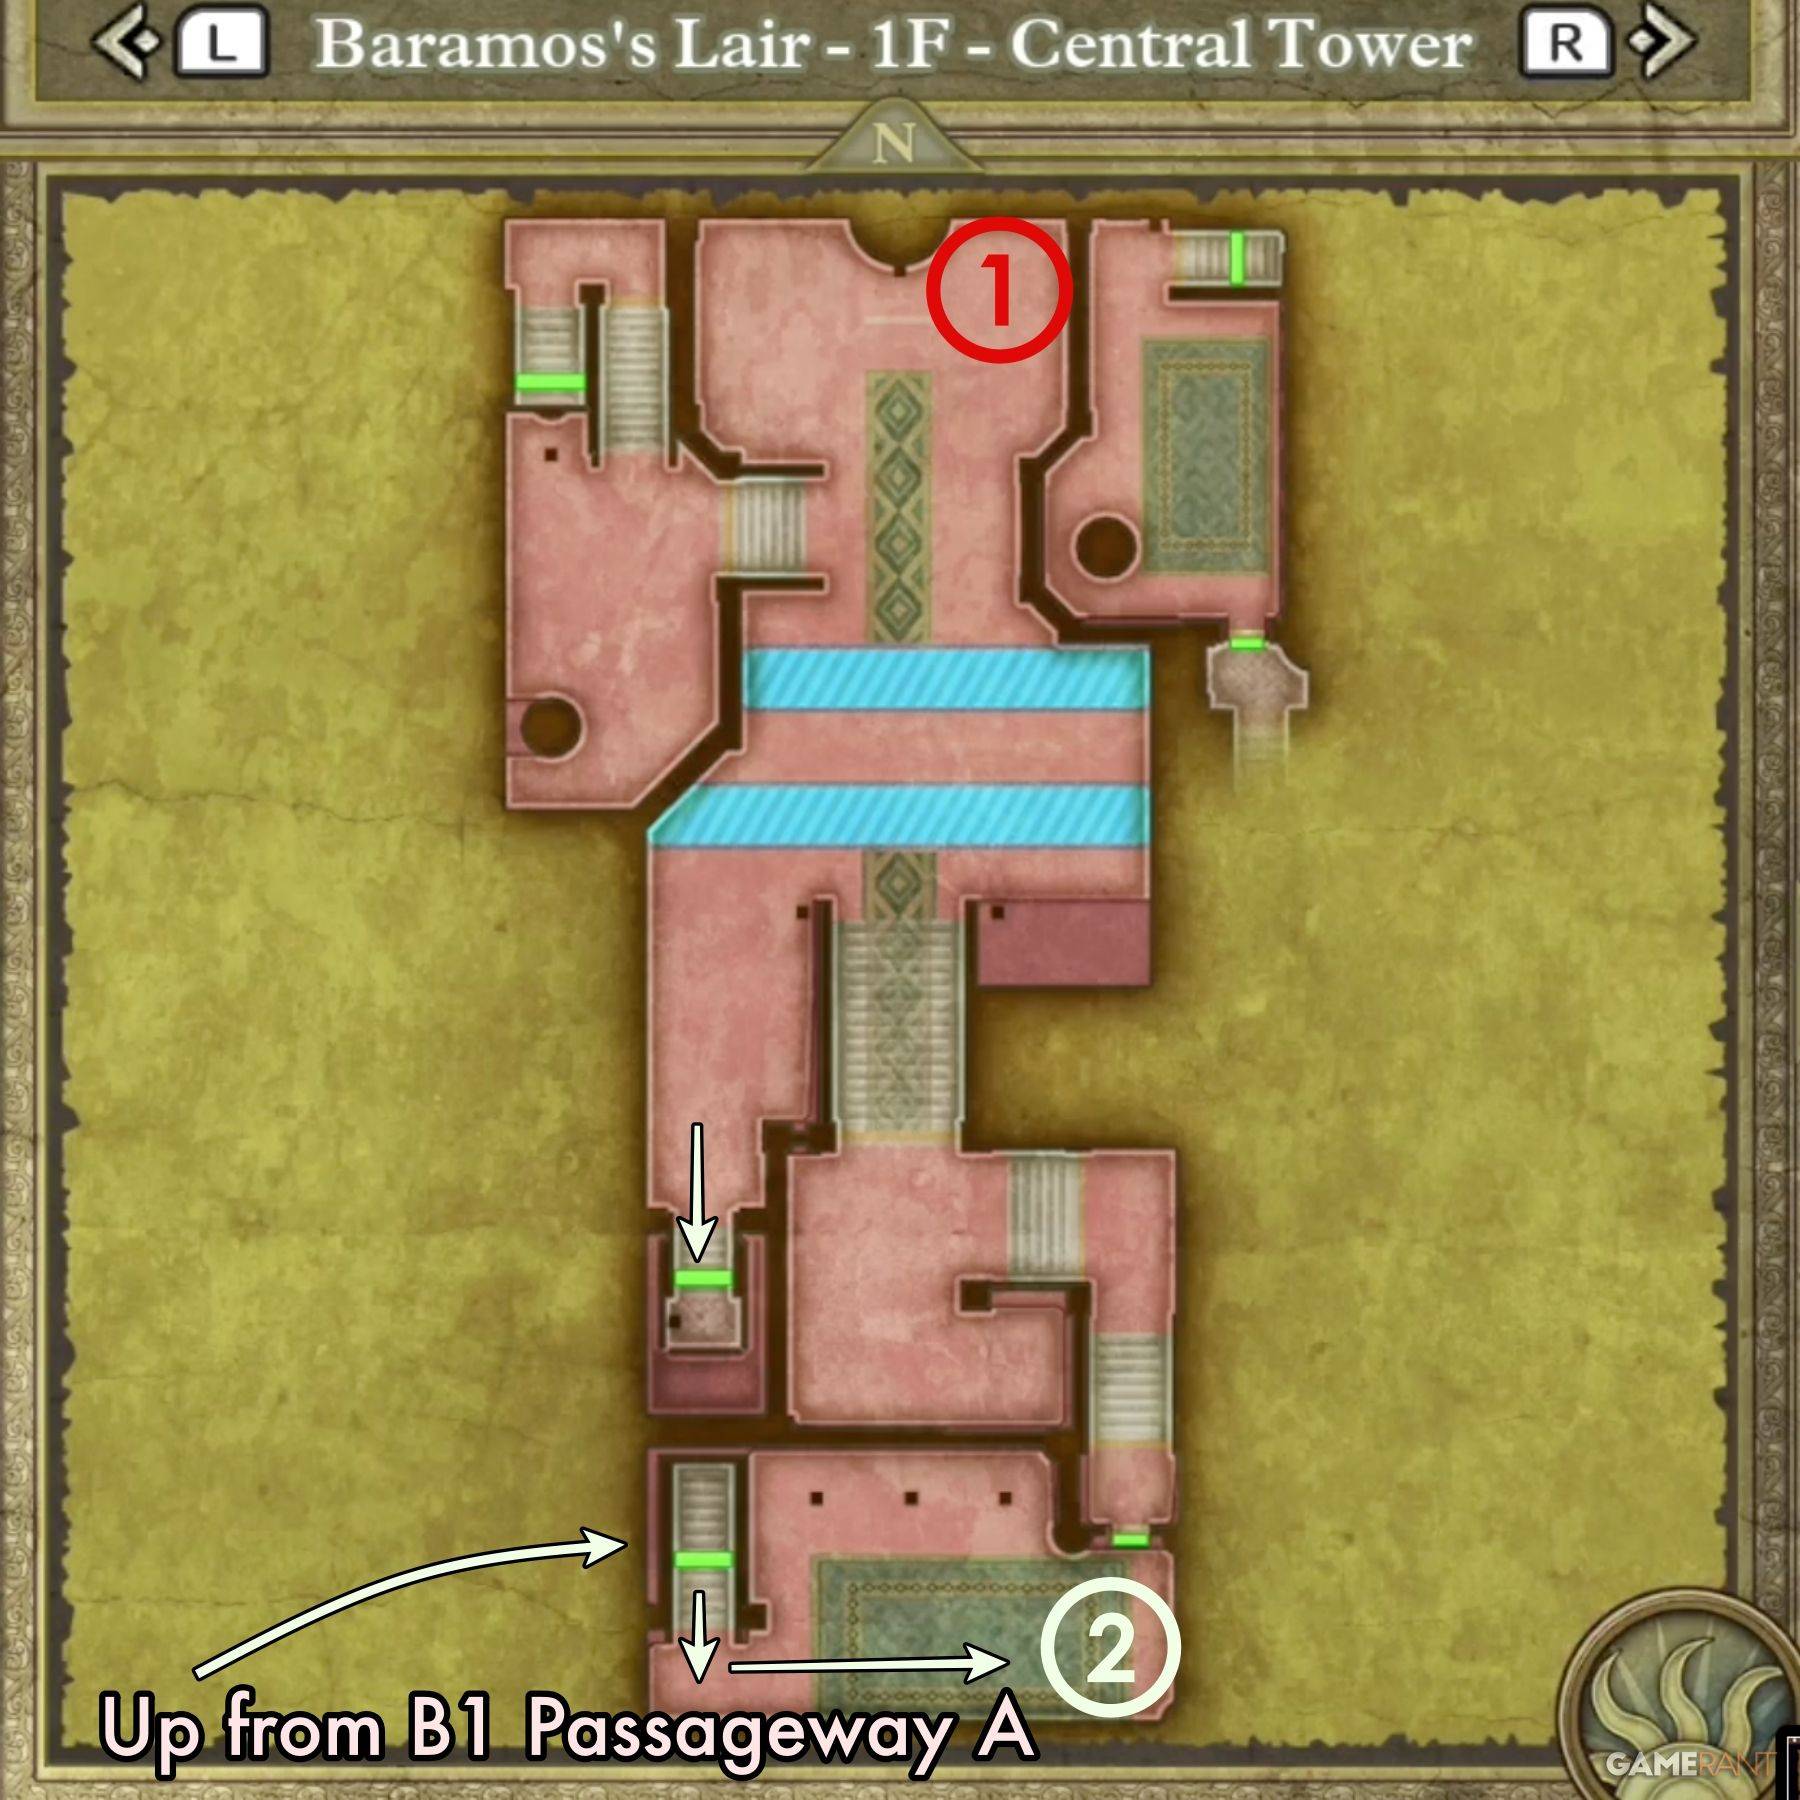
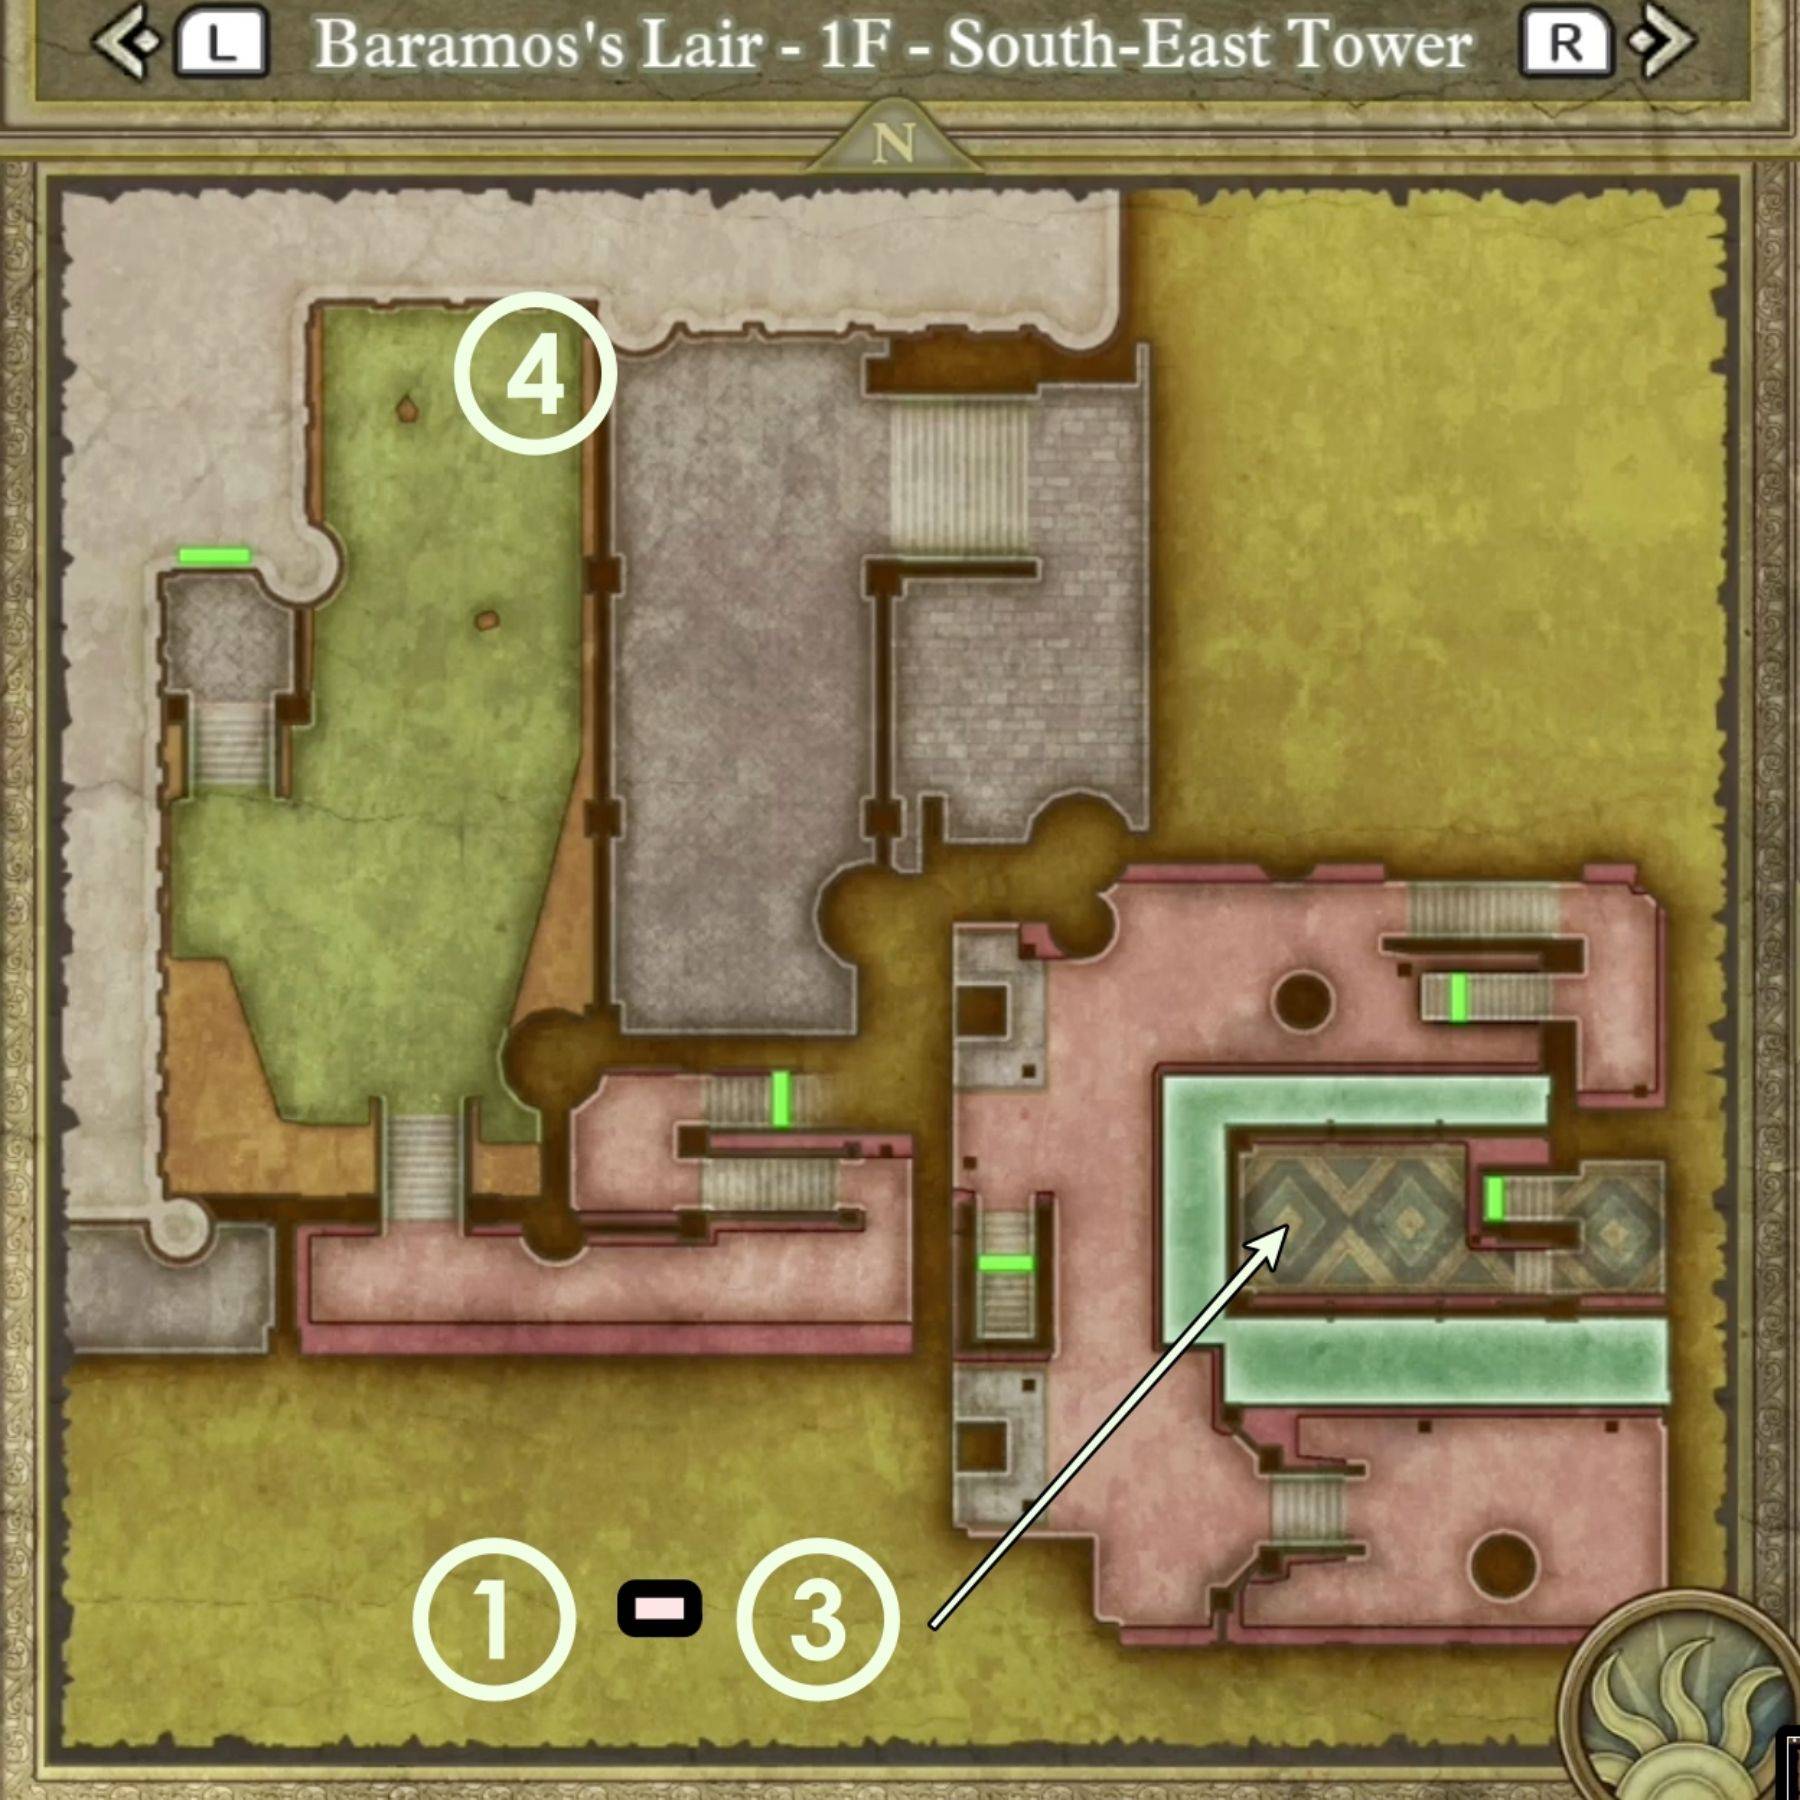
The initial area, "Baramos's Lair – Surroundings," acts as the central outdoor hub. We'll outline the main path to the boss fight, followed by treasure locations on each floor.
Main Path to Baramos:
Surroundings:
Central Tower:
South-East Tower:
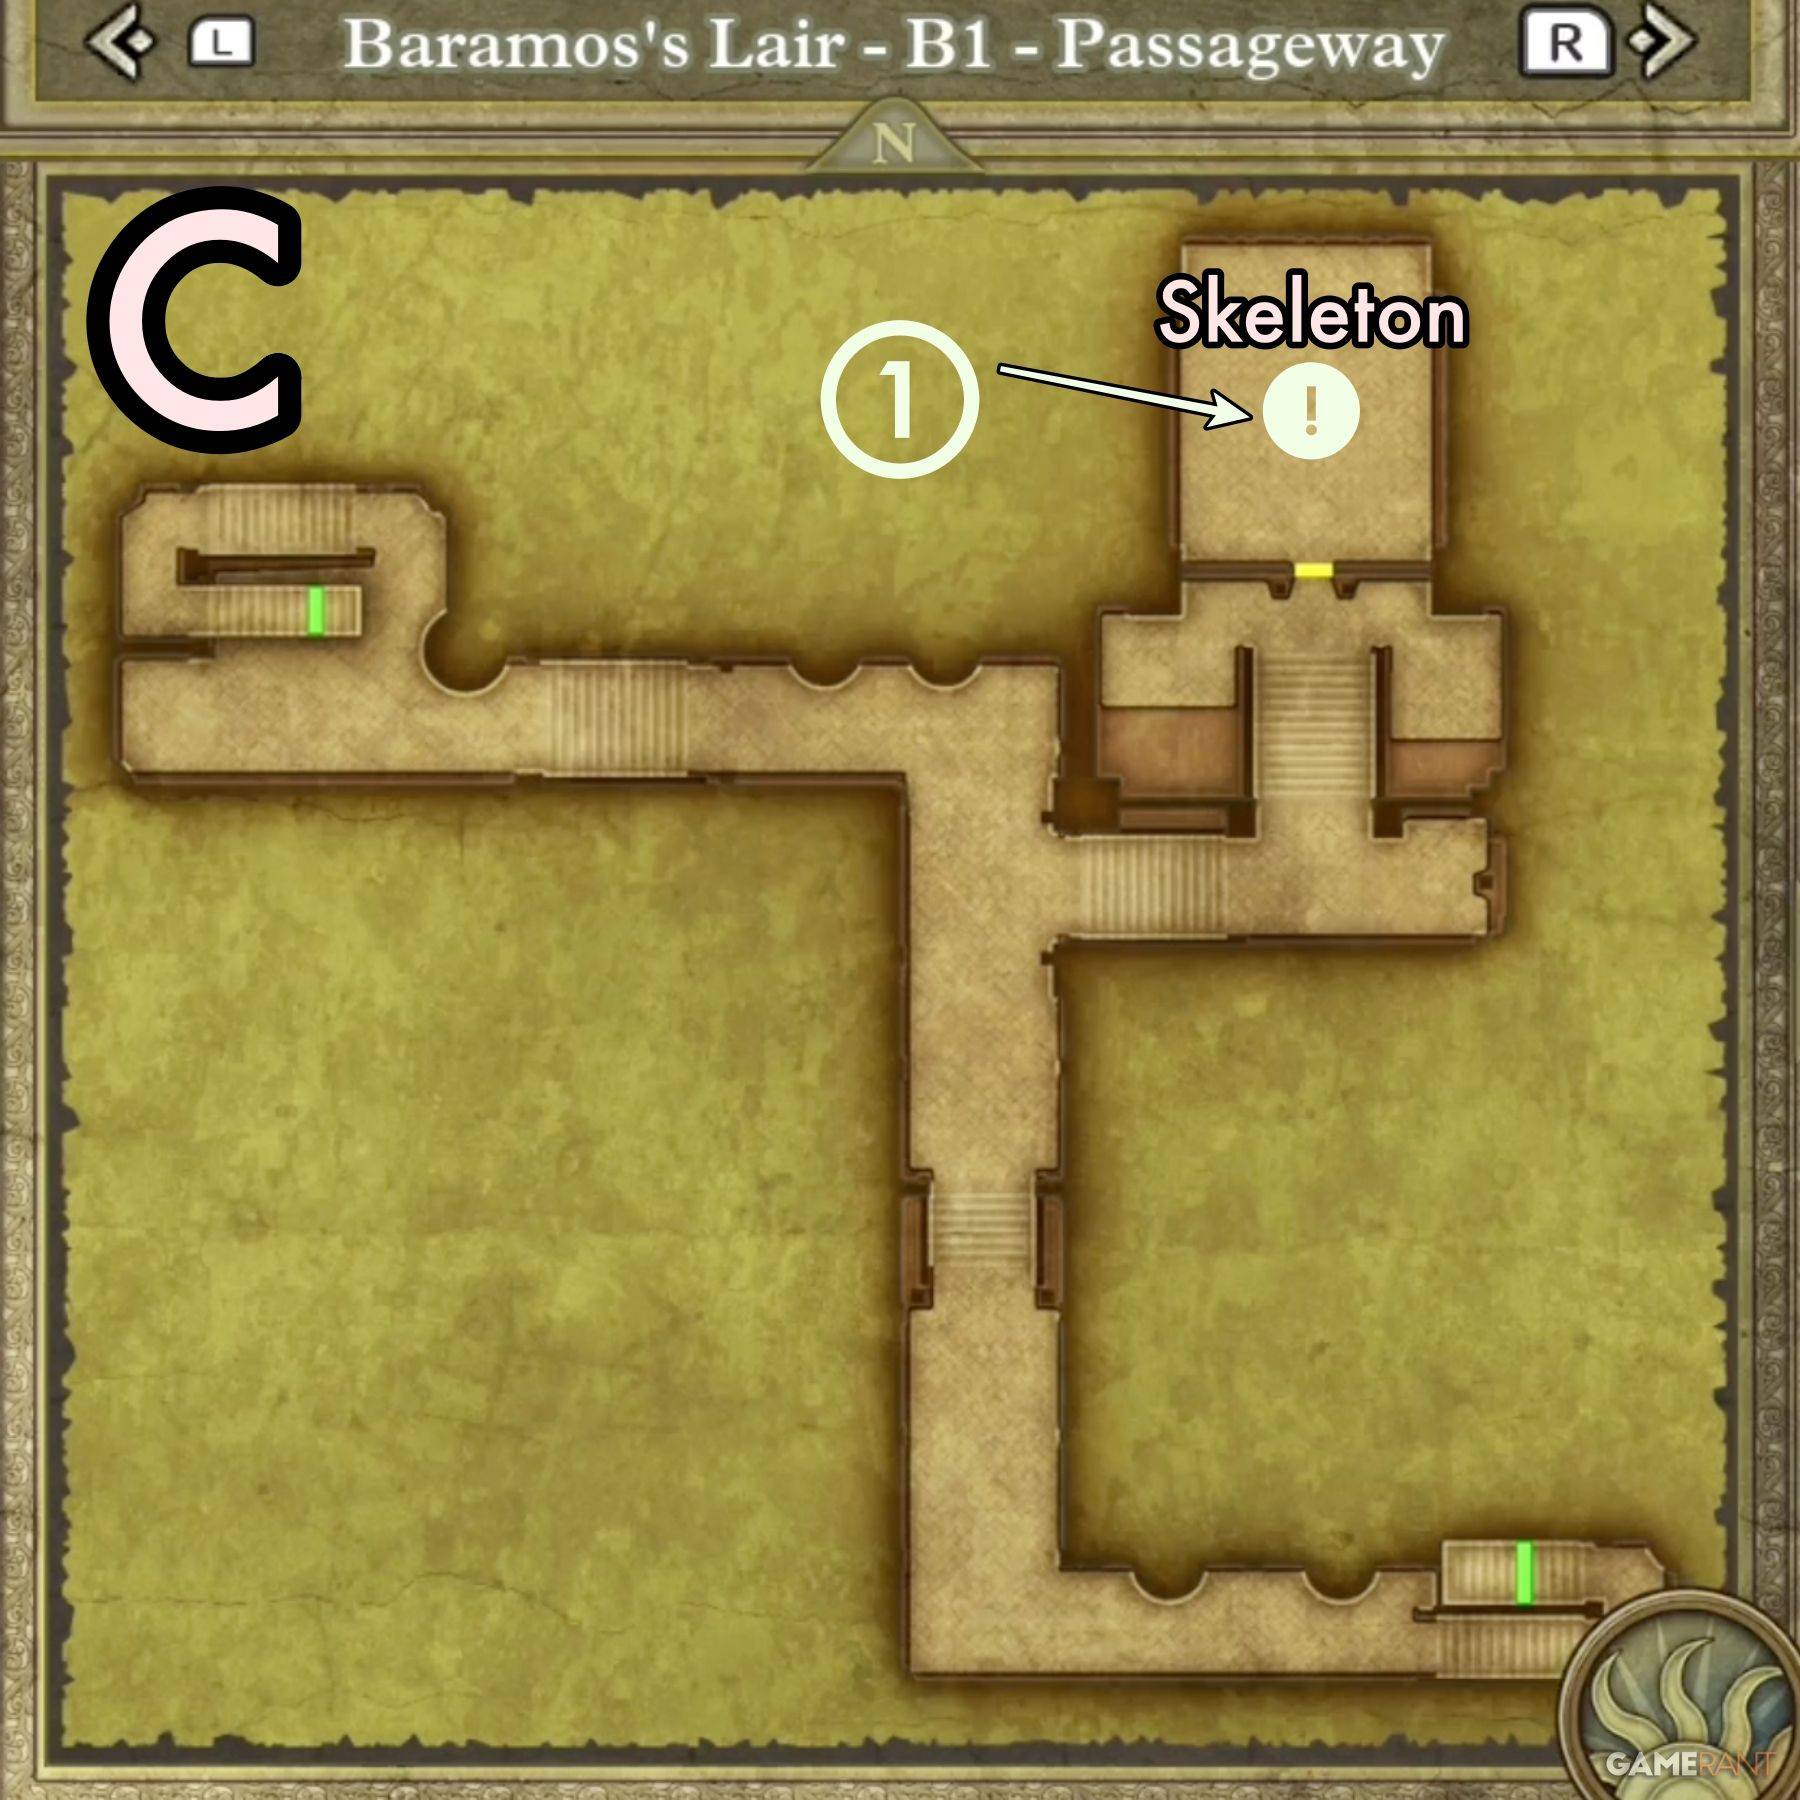
B1 Passageway:
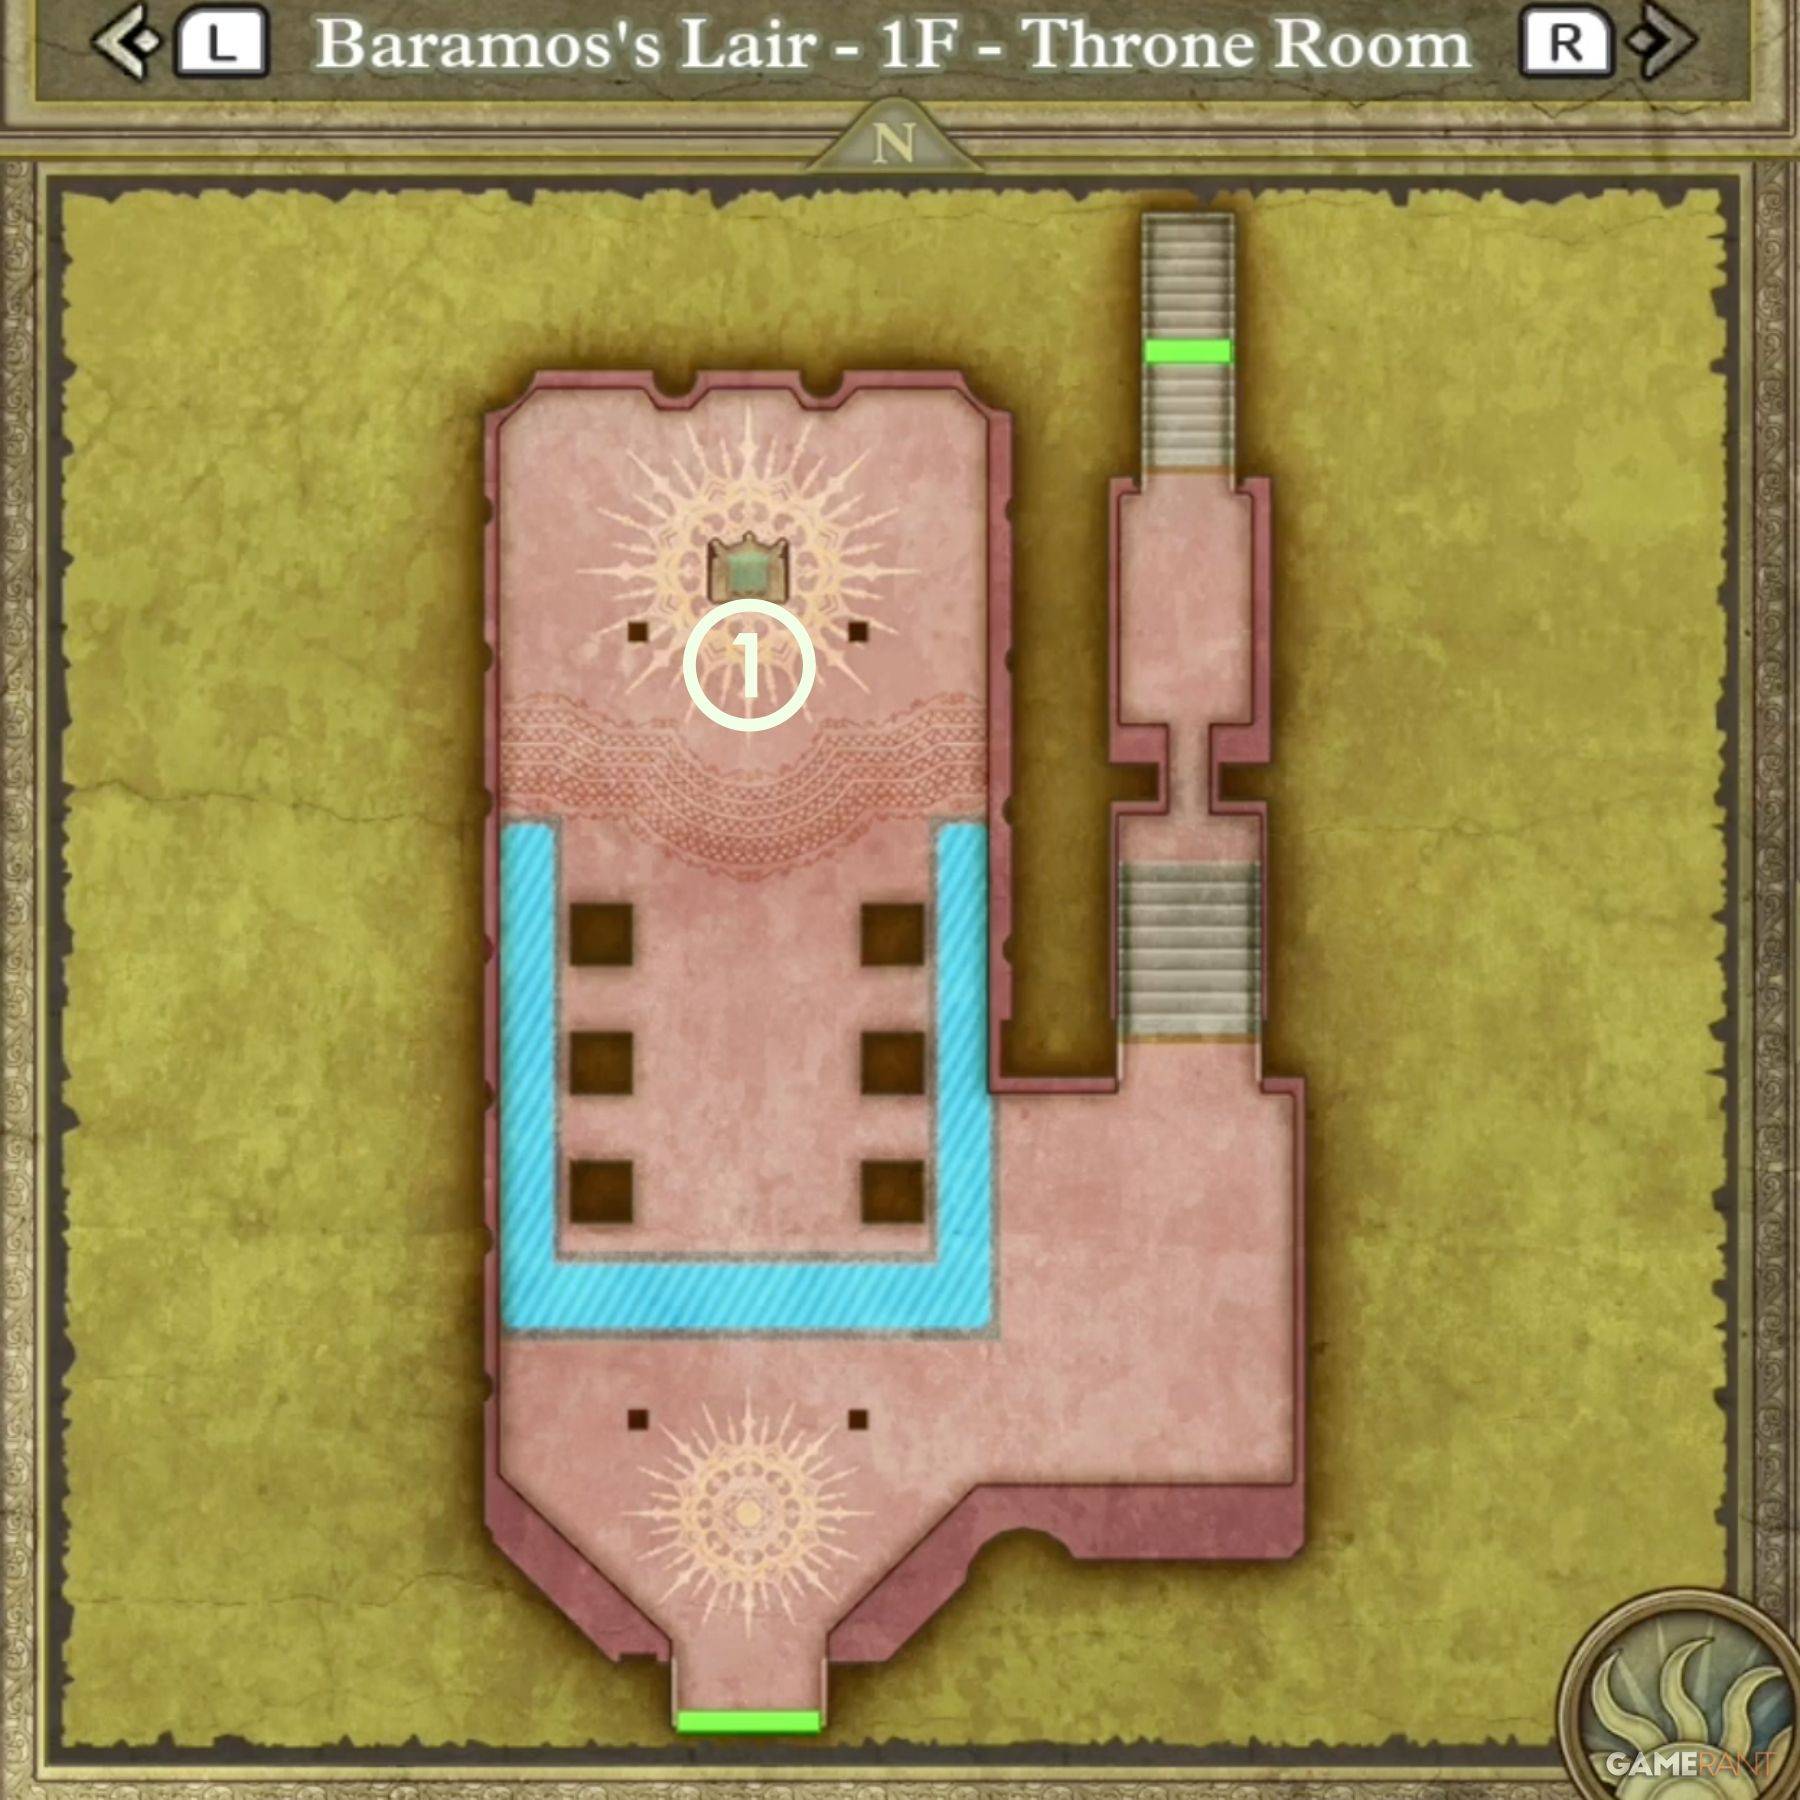
Throne Room:
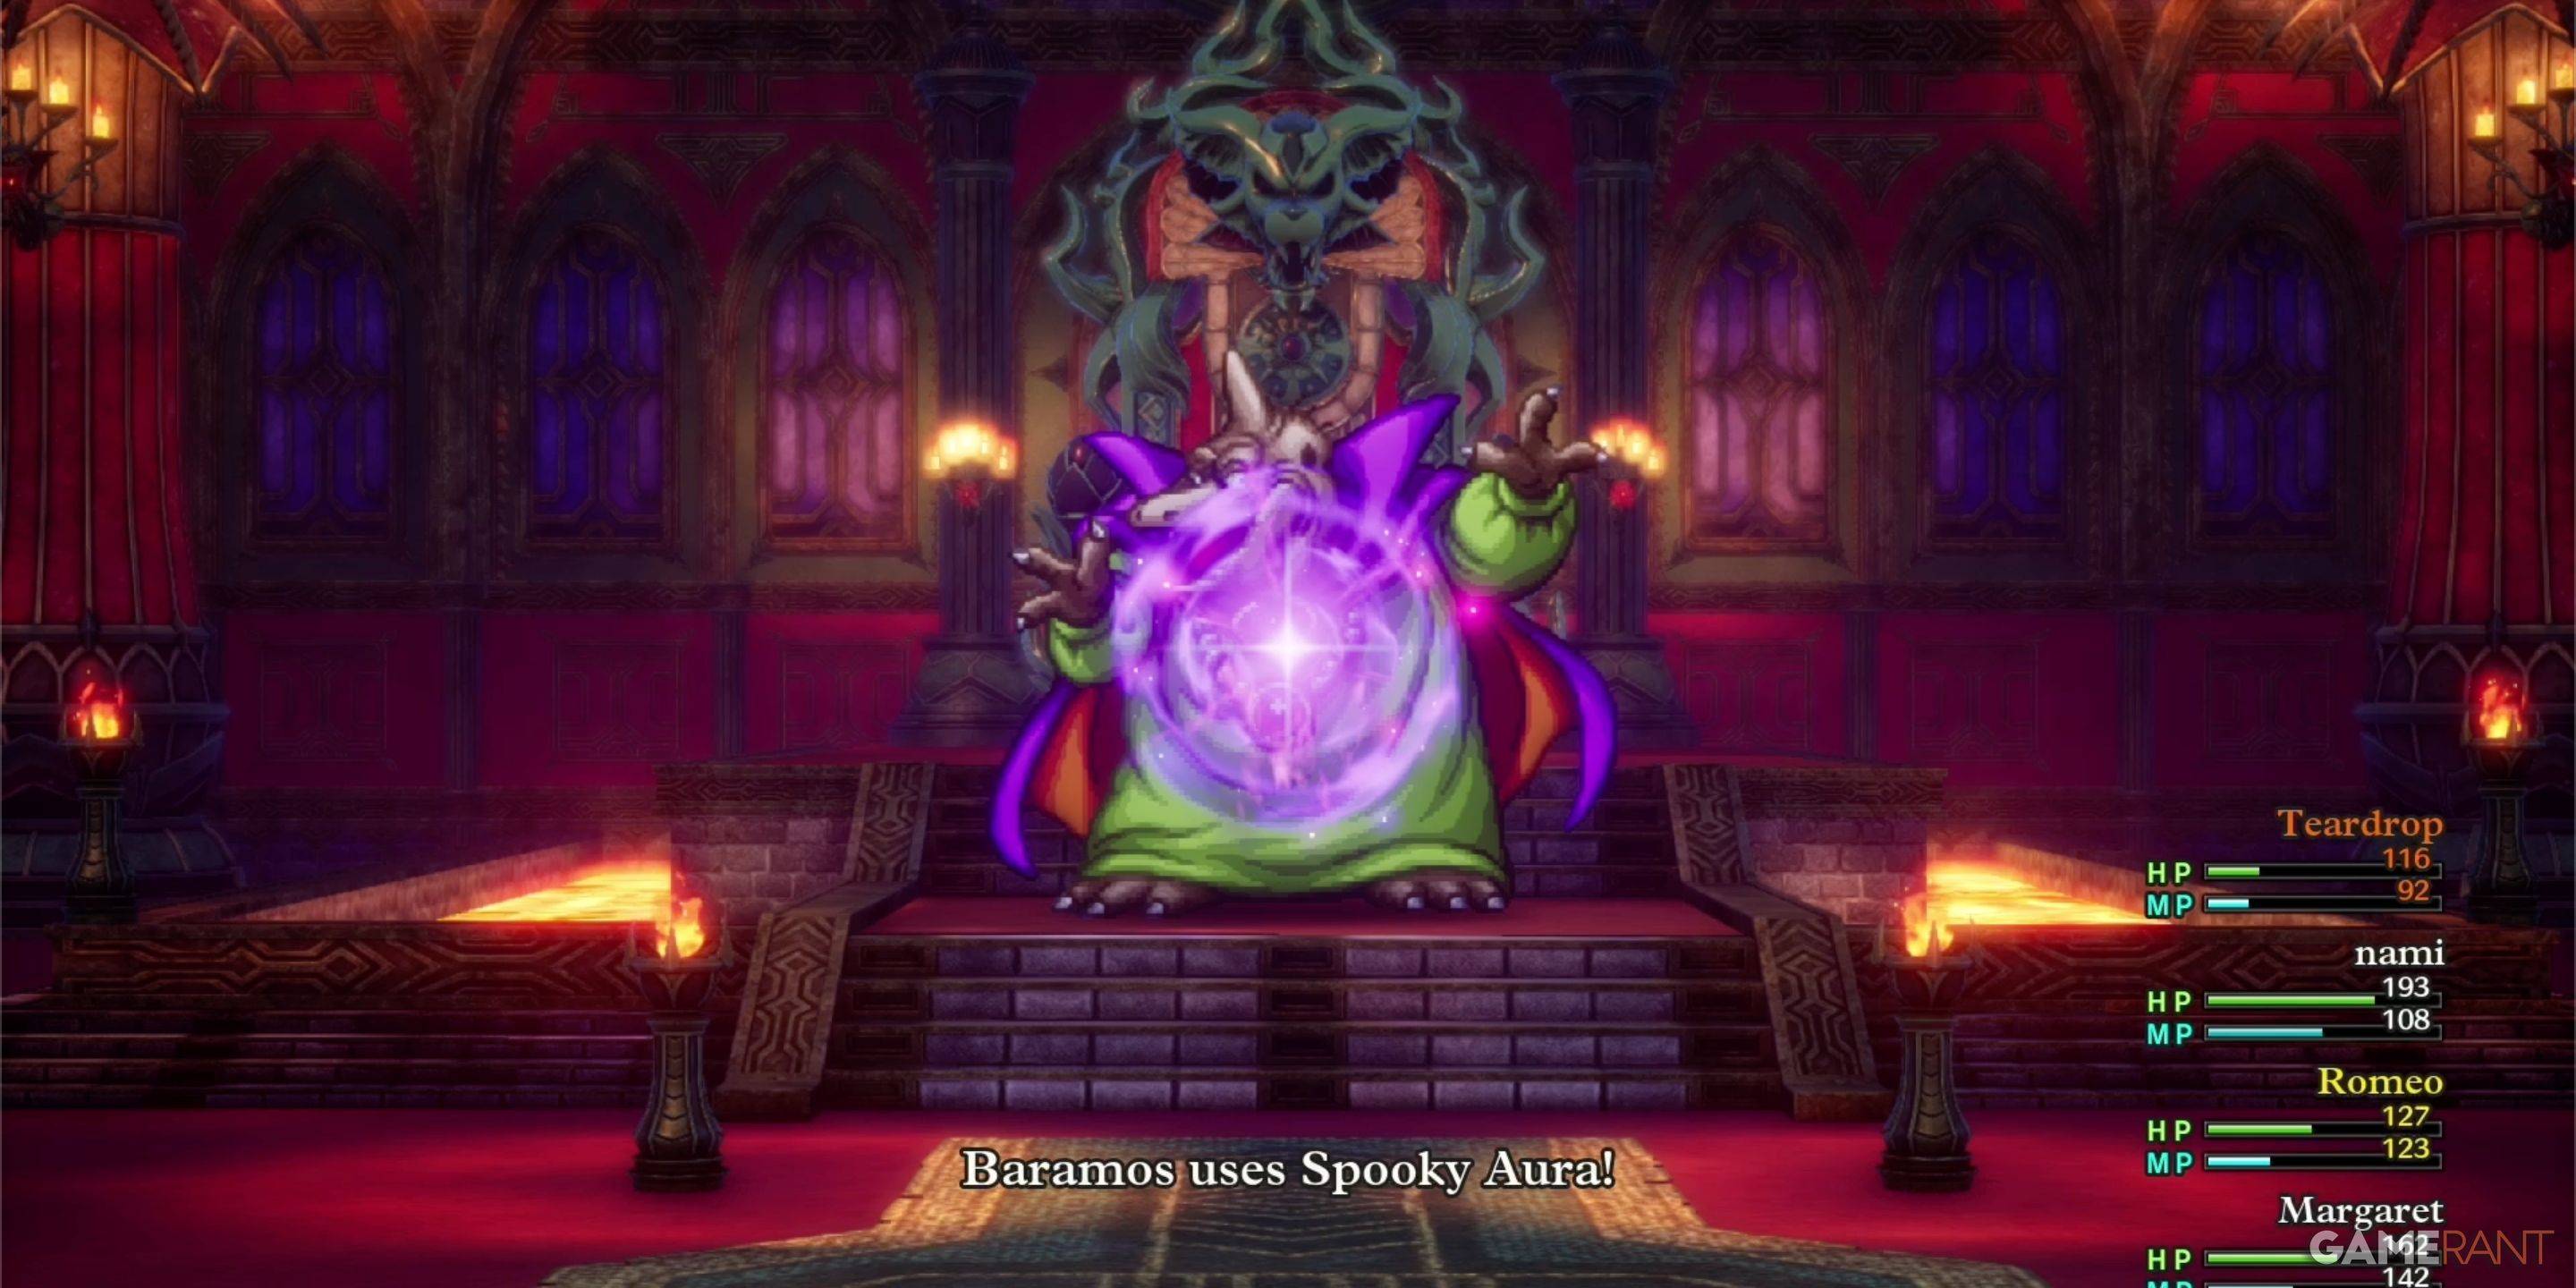
Baramos is a formidable opponent. Strategic planning and adequate party levels are crucial.
Baramos's Weaknesses:
Utilize high-level spells like Kacrack and Swoosh. Maintain a dedicated healer; Baramos inflicts significant damage. Prioritize survival over speed.
| Monster Name | Weakness |
|---|---|
| Armful | Zap |
| Boreal Serpent | TBD |
| Infanticore | TBD |
| Leger-De-Man | TBD |
| Living Statue | None |
| Liquid Metal Slime | None |
| Silhouette | Varies |
This comprehensive guide equips you to conquer Baramos's Lair and advance in your Dragon Quest 3 Remake journey. Remember to utilize your party's strengths and exploit Baramos's weaknesses for a successful encounter.


![NULL [Remastered]](https://imgs.39man.com/uploads/71/1719651062667fcaf6c483b.png)